博客相关|butterfly主题的一般性配置
本文只介绍 butterfly 主题的一般性配置,以从简、从便、轻量、易阅读为前提,故不会将所有的配置都写入。如果需要更丰富的配置,请参考 butterfly 主题原博。
主题安装和应用
安装
Butterfly 主题安装
稳定版【建议】
在您的 Hexo 根目录里
1 | git clone -b master https://github.com/jerryc127/hexo-theme-butterfly.git themes/butterfly |
升级方法:在主题目录下,运行 git pull
稳定版【建议】
在您的 Hexo 根目录里
1 | git clone -b master https://gitee.com/immyw/hexo-theme-butterfly.git themes/butterfly |
升级方法:在主题目录下,运行 git pull
此方法只支持 Hexo 5.0.0 以上版本。
通过 npm 安装并不会在 themes 里生成主题文件夹,而是在 node_modules 里生成。
在您的 Hexo 根目录里
1 | npm i hexo-theme-butterfly |
升级方法:在 Hexo 根目录下,运行 npm update hexo-theme-butterfly
应用主题
主题应用设置
修改 Hexo 根目录下的 _config.yml ,把主题改为 butterfly 。
1 | theme: butterfly |
安装插件
安装插件
如果你没有 pug 以及 stylus 的渲染器,请下载安装:
1 | npm install hexo-renderer-pug hexo-renderer-stylus --save |
升级建议
了解主题配置文件
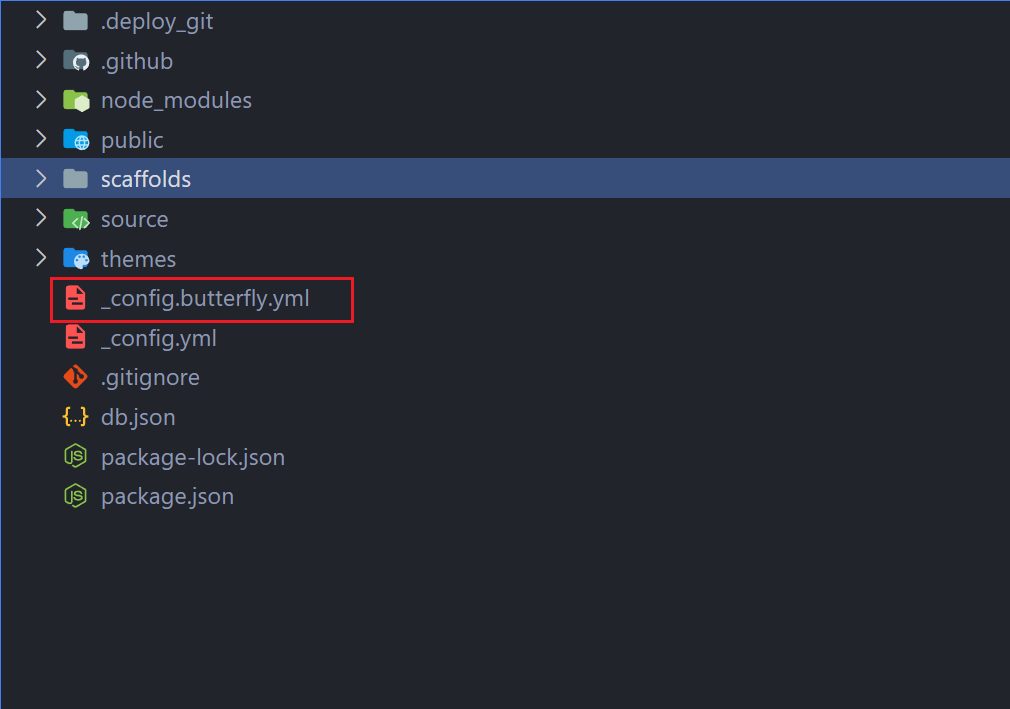
在 hexo 的根目录创建一个文件 _config.butterfly.yml,并把主题目录的 _config.yml 内容复制到 _config.butterfly.yml 去。( 注意: 复制的是主题的 _config.yml ,而不是 hexo 的 _config.yml )。
Hexo会自动合并主题中的 _config.yml 和 _config.butterfly.yml 里的配置,如果存在同名配置,会使用 _config.butterfly.yml 的配置,其优先度较高。
页面配置
Front-matter
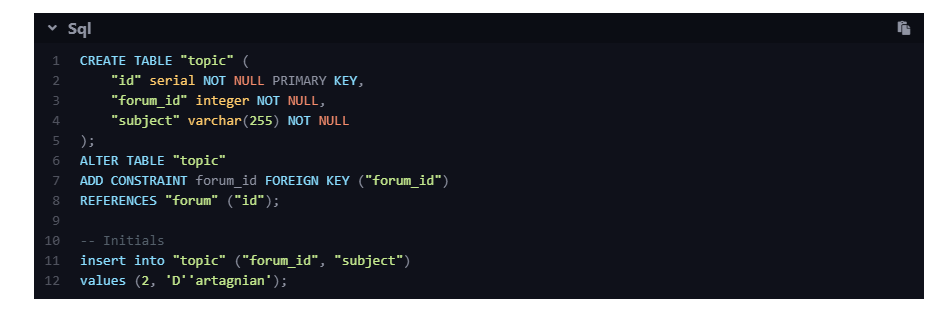
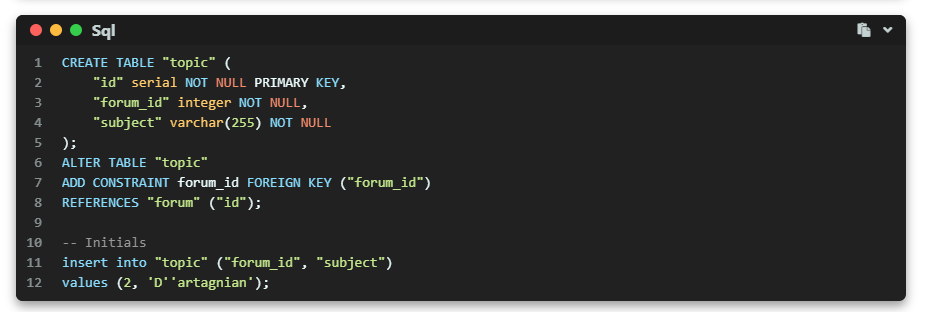
Font-matter 是 markdown 文件最上方以 --- 分隔的区域,用于指定个别档案的变数。
Hexo 根目录
\scaffolds\page.md
1 | --- |
Hexo 根目录
\scaffolds\post.md
1 | --- |
标签页
标签页设置
- 前往您的 Hexo 博客的根目录
- 输入
hexo new page tags - 找到
source/tags/index.md这个文件 - 修改这个文件,加上
type: "tags"
1 | --- |
分类页
分类页设置
- 前往您的 Hexo 博客的根目录
- 输入
hexo new page categories - 找到
source/categories/index.md这个文件 - 修改这个文件,加上
type: "categories"
1 | --- |
友情链接
友情链接设置。
- 前往您的 Hexo 博客的根目录
- 输入
hexo new page link - 找到
source/link/index.md这个文件 - 修改这个文件,加上
source/link/index.md
1 | --- |
在Hexo博客目录中的 source/_data(如果没有 _data 文件夹,请自行创建),创建一个文件 link.yml,参考修改如下配置。
1 | - class_name: 友情链接 |
404 页面
主题内置了一个简单的 404 页面,可在设置中开启。
- 在
_config.butterfly.yml文件中查找error_404。
1 | # A simple 404 page |
网站资料
默认语言
修改站点配置文件:_config.yml,默认语言是 en 。
主题支持三种语言:
- default(en)
- zh-CN(简体中文)√
- zh-TW(繁体中文)
网站个人资料
修改网站各种资料,例如标题、副标题和邮箱等个人资料,修改博客根目录的 _config.yml 。
1 | title: wmJim's Blog # 网站主标题 |
导航栏设置
修改主题配置文件 _config.butterfly.yml 。
导航栏参数设置
1 | nav: |
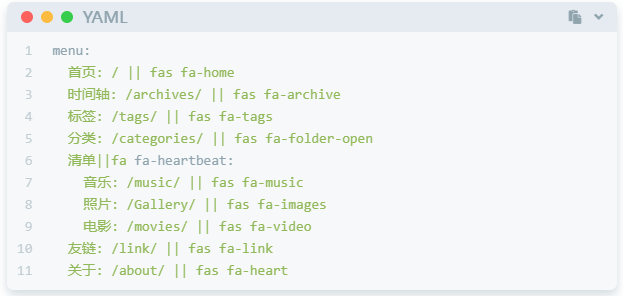
修改导航栏菜单
这部分可以参考,但是要根据自己设置的情况去写,否则链接是无效的。
1 | menu: |
- 必须是 /xxx/,后面||分开,然后写图标名。
- 如果不希望显示图标,图标名可不写。
- 默认子目录是展开的,如果你想要隐藏,在子目录里添加 hide 。
代码
1 | highlight_theme: mac # 我个人推荐 mac 样式 |
1 | highlight_copy: true |
1 | highlight_shrink: false # 我的推荐 |
- true 全部代码框不展开,需点击
>进行展开 - false 代码框展开,有
>关闭展开按钮 - none 不显示
>按钮
在默认情况下,Hexo 在编译的时候不会实现代码自动换行。如果你不希望在代码块的区域里有横向滚动条的话,那么你可以考虑开启这个功能。
1 | code_word_wrap: false # 我推荐关闭这个功能 |
- 如果你是使用 highlight 渲染,需要找到你站点的 Hexo 配置文件_config.yml,将 line_number 改成 false:
- 如果你是使用 prismjs 渲染,需要找到你站点的 Hexo 配置文件_config.yml,将 line_number 改成 false:
</ul>
1 | highlight: |
</ul>
1 | prismjs: |
可配置代码高度限制,超出的部分会隐藏,并显示展开按钮。
1 | highlight_height_limit: 500 # 个人推荐高度 |
- 单位是 px,直接添加数字,如 200
- 实际限制高度为 highlight_height_limit + 30 px ,多增加 30px 限制,目的是避免代码高度只超出 highlight_height_limit 一点时,出现展开按钮,展开没内容。
- 不适用于隐藏后的代码块( css 设置 display: none)
社交图标
社交图标配置
书写格式 图标名:url || 描述性文字,可以参考我的设置。
1 | social: |
头像
头像配置
1 | avatar: |
顶部图
顶部图配置
如果不要显示顶部图,可直接配置 disable_top_img: true
可配置的值:
| 配置 | 解释 |
|---|---|
| index_img | 主页的 top_img |
| default_top_img | 默认的 top_img,当页面的 top_img 没有配置时,会显示 default_top_img |
| archive_img | 归档页面的 top_img |
| tag_img | tag 子页面 的 默认 top_img |
| tag_per_img | tag 子页面的 top_img,可配置每个 tag 的 top_img |
| category_img | category 子页面 的 默认 top_img |
| category_per_img | category 子页面的 top_img,可配置每个 category 的 top_img |
以上所有的 top_img 可配置以下值:
| 配置的值 | 效果 |
|---|---|
| 留空 | 显示默认的 top_img(如有),否则显示默认的顔色 |
| img 链接 | 图片的链接,显示所配置的图片 |
| 顔色 ( HEX 值 - #0000FF RGB 值 - rgb (0,0,255) 顔色单词 - orange 渐变色 - linear-gradient (135deg, #E2B0FF 10%, #9F44D3 100%) ) | 对应的颜色 |
| transparent | 透明 |
| false | 不显示 top_img |
文章封面
文章封面配置
文章封面的获取顺序 Front-matter 的 cover > 配置文件的 default_cover > false
自己按需配置,以下是我的配置。
1 | cover: |
文章页相关配置
这个选项是用来显示文章的相关信息的。
1 | post_meta: |
为你的博客文章展示文章版权和许可协议。
1 | post_copyright: |
相关二维码可以自行配置。
1 | reward: |
在文章页,会有一个目录,用于显示 TOC。
1 | toc: |
相关文章推荐的原理是根据文章 tags 的比重来推荐
1 | related_post: |
开启文章锚点后,当你在文章页进行滚动时,文章链接会根据标题 ID 进行替换
(注意:每替换一次,会留下一个历史记录。所以如果一篇文章有很多锚点的话,网页的历史记录会很多。)
因此,我的选择就是不开启。
1 | anchor: |
可设置分页的逻辑,也可以关闭分页显示
1 | # 1: 下一篇显示的是旧文章 |
主页文章节选
主页文章节选配置
在 butterfly 里,有四种可供选择:
- description: 只显示 description
- both: 优先选择 description,如果没有配置 description,则显示自动节选的内容
- auto_excerpt:只显示自动节选
- false: 不显示文章内容
1 | index_post_content: |
图片描述
图片描述
可开启图片Figcaption描述文字显示,我觉得没用就给关了:
1 | photofigcaption: false |
复制相关配置
复制相关配置
可配置网站是否可以复制、复制的内容是否添加版权信息。
1 | copy: |
Footer 设置
Footer 设置
- since是一个来展示你站点起始时间的选项。它位于页面的最底部。
- custom_text是一个给你用来在页脚自定义文本的选项。通常你可以在这里写声明文本等。
1 | footer: |
- 对于部分人需要写 ICP 的,也可以写在 custom_text里
1 | custom_text: <a href="icp链接"><img class="icp-icon" src="icp图片"><span>备案号:xxxxxx</span></a> |
侧边栏设置
需要关注的几个点,我用注释进行说明:
1 | aside: |
直接全部打开即可
1 | busuanzi: |
网站运行时间打开
1 | runtimeshow: |
右下角按钮
1 | translate: |
1 | # dark mode |
阅读模式下会去掉除文章外的内容,避免干扰阅读。
1 | readmode: true |
可以改变字体大小(最小隻能到 10px,最大隻能到 20px)
1 | change_font_size: true |
总结
关于 buttfly 主题的一般性配置就介绍到这里,完成这些设置博客网站就基本上可以投入文章记录和运营了。后面将专门开两篇文章介绍 butterfly 主题的标签外挂和 butterfly 主题的高级配置。
 wechat
- alipay